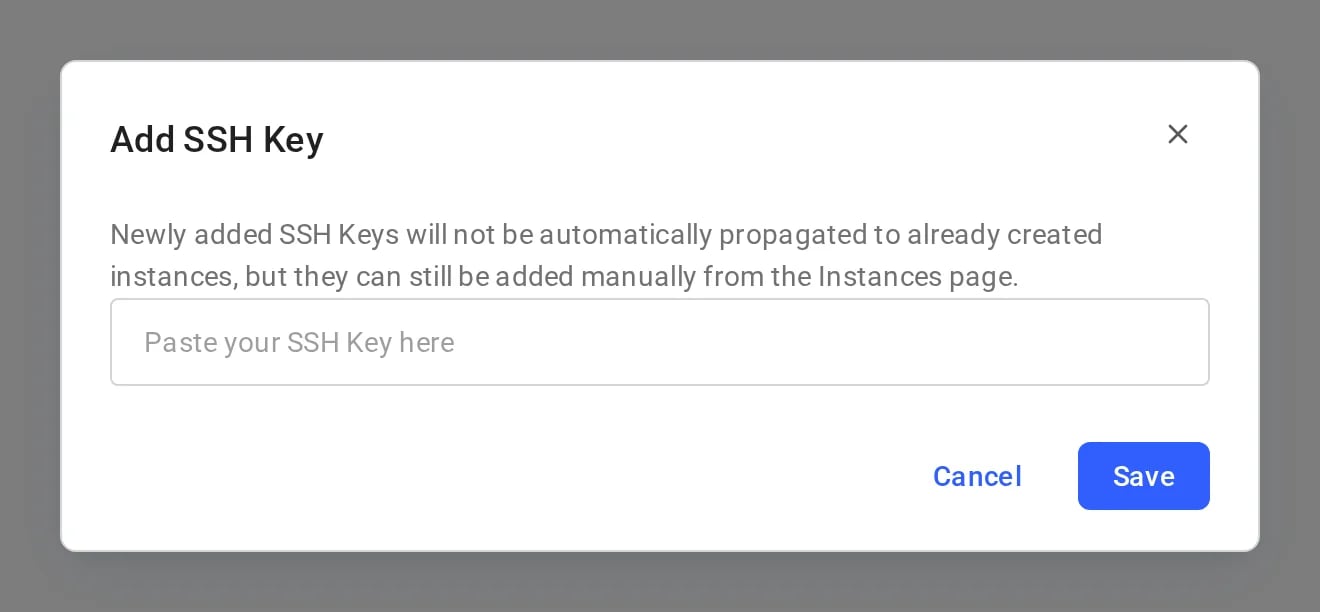
Quick start: Generate and add your SSH key to your Vast account
Terminal
Vast CLI
1. Generate a SSH key pair in your terminal
ssh-keygen -t ed25519 -C "your_email@example.com"
ssh-keygen -t ed25519 -C "your_email@example.com"
Creates two files (by default in ~/.ssh/):
id_ed25519 → your private key (keep safe, never share).
id_ed25519.pub → your public key (safe to share, add to servers).
-C “your_email@example.com” is optional. Whatever you put there is stored as a comment in the public key file (e.g., id_ed25519.pub). It’s just for identification (helpful if you use multiple keys), not for security.
When you run ssh-keygen -t ed25519 in Windows PowerShell, the keys are created in your Windows user profile folder:
C:\Users\<YourUsername>\.ssh\
2. Copy your public key.
# Print the public keycat ~/.ssh/id_ed25519.pubssh-ed25519 AAAAC3NzaC1lZ9DdI1NTE5AAAAIHWGYlMT8CxcILI/i3DsRvX74HNChkm4JSNFu0wmcv0a
# Print the public keyGet-Content $env:USERPROFILE\.ssh\id_ed25519.pubssh-ed25519 AAAAC3NzaC1lZ9DdI1NTE5AAAAIHWGYlMT8CxcILI/i3DsRvX74HNChkm4JSNFu0wm
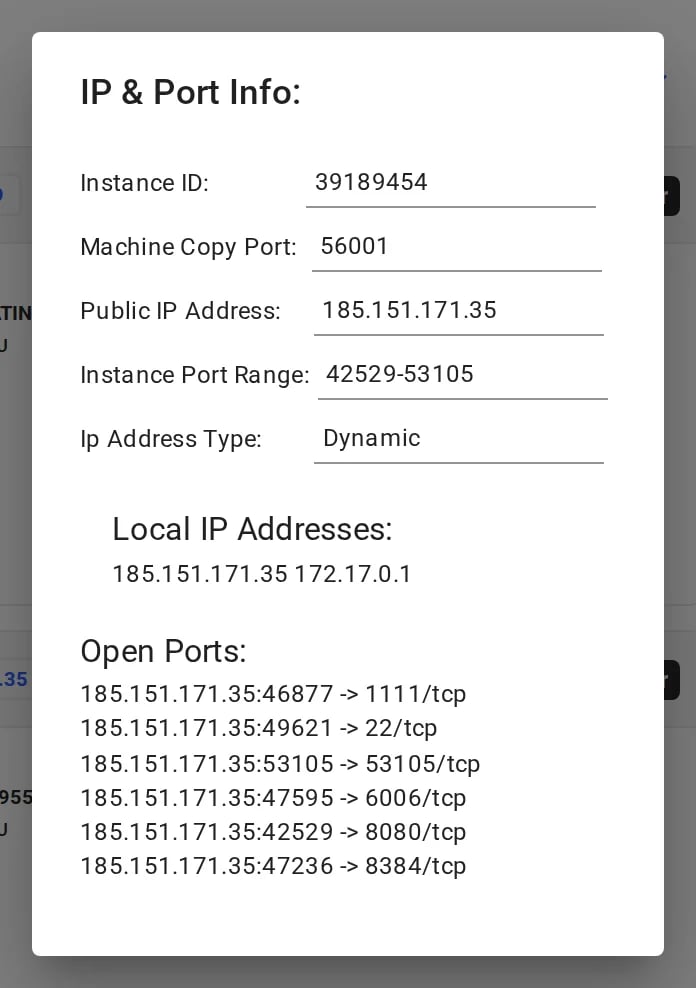
Start a new instance and click the SSH icon to see your connection information.
Connection details
Now you can enter the connection command string into your terminal
Bash
ssh -p 20544 root@142.214.185.187 -L 8080:localhost:8080The authenticity of host '[142.214.185.187]:20544 ([142.214.185.187]:20544)' can't be established.ED25519 key fingerprint is SHA256:WTUphznpN0zikMp+L5EtZpiCH6EeZ2PA/7+DSXDRjT0.This key is not known by any other names.Are you sure you want to continue connecting (yes/no/[fingerprint])? yes
You should now see a screen similar to this. You will, by default, be placed into a tmux session.
Terminal
Welcome to your vast.ai container! This session is running in `tmux`.To disconnect without closing your processes, press ctrl+b, release, then d.To disable auto-tmux, run `touch ~/.no_auto_tmux` and reconnect. See also https://tmuxcheatsheet.com/(main) root@C.20931558:/workspace$
We connect you to a tmux session by default for reliability and to prevent unintentional termination of foreground processes. You can create a new bash terminal window with ctrl+b + c. Cycle through your windows with ctrl+b + nThere is an excellent guide for getting to grips with tmux at https://tmuxcheatsheet.comIf, however, you would prefer to disable TMUX, you can apply the following either in a terminal or from your template’s on-start section.
An often overlooked feature of SSH is its ability to forward local ports to another machine. When you access a server remotely over SSH, you can make ports from the remote machine available as if they were listening on your own device. This is a secure alternative to opening ports on the public interface as all data is transported over the SSH connection.
This SSH command connects to the remote instance and sets up local port forwarding (SSH tunneling):Connection details:
Connects to IP 180.123.123.123 as user root
Uses port 1234 instead of the default SSH port 22
Port forwarding (the key part):
-L 8080:localhost:8080 - Creates a tunnel so when you access localhost:8080 on your local machine, it forwards to port 8080 on the remote server
-L 5000:localhost:5000 - Same thing for port 5000
You can repeat the -L arguments to forward as many ports as you need.What this means: After connecting, you can open your web browser and go to https://localhost:8080 or http://localhost:5000 on your local computer, and you’ll actually be accessing services running on those ports on the remote server. It’s like creating secure “tunnels” through the SSH connection to reach applications on the remote machine that might not be directly accessible from the internet.
As a simple alternative to SSH, you might like to consider Jupyter Terminal instead. All instances started in Jupyter launch mode will have this enabled. It is a very straightforward web-based terminal with session persistence. It’s great for a quick CLI session.Open it by clicking Open Jupyter terminal in the instance’s connection options (the same dialog as the SSH/Connect button).
Both SCP (Secure Copy Protocol) and SFTP (SSH File Transfer Protocol) are tools for securely transferring files that piggyback on the SSH protocol. They use the same authentication and encryption as SSH.
What it is: Interactive file transfer program with a full command set
Best for: Managing files, browsing directories, multiple operations
Usage: CLI or GUI tools available
Example:
Bash
# Establish connectionsftp -P <ssh_port> root@<instance_ip>Welcome to vast.ai. If authentication fails, try again after a few seconds, and double check your ssh key.Have fun!Connected to 79.116.73.220.sftp> lshasbooted onstart.sh
Note that both scp and sftp take the -P argument in uppercase. This differs from the ssh command which uses lowercase.
Enter your ssh address details in the box that appears at the top of your window
Now simply allow a moment for VS code to configure the instance and you will be able to work with the instance as if it was a local machine.For more information, see the VS Code documentation.
For Windows users who prefer GUI tools, please see our Windows Connection Guide for detailed setup instructions for PuTTY, MobaXterm, and other GUI clients.