> ## Documentation Index
> Fetch the complete documentation index at: https://vastai-80aa3a82-docs-screenshot-updates.mintlify.site/llms.txt
> Use this file to discover all available pages before exploring further.
# Quick Start
## Run Your First Template
To jump right in and run a template, follow these steps.
Visit the templates section of the console where you will find all of our recommended templates.
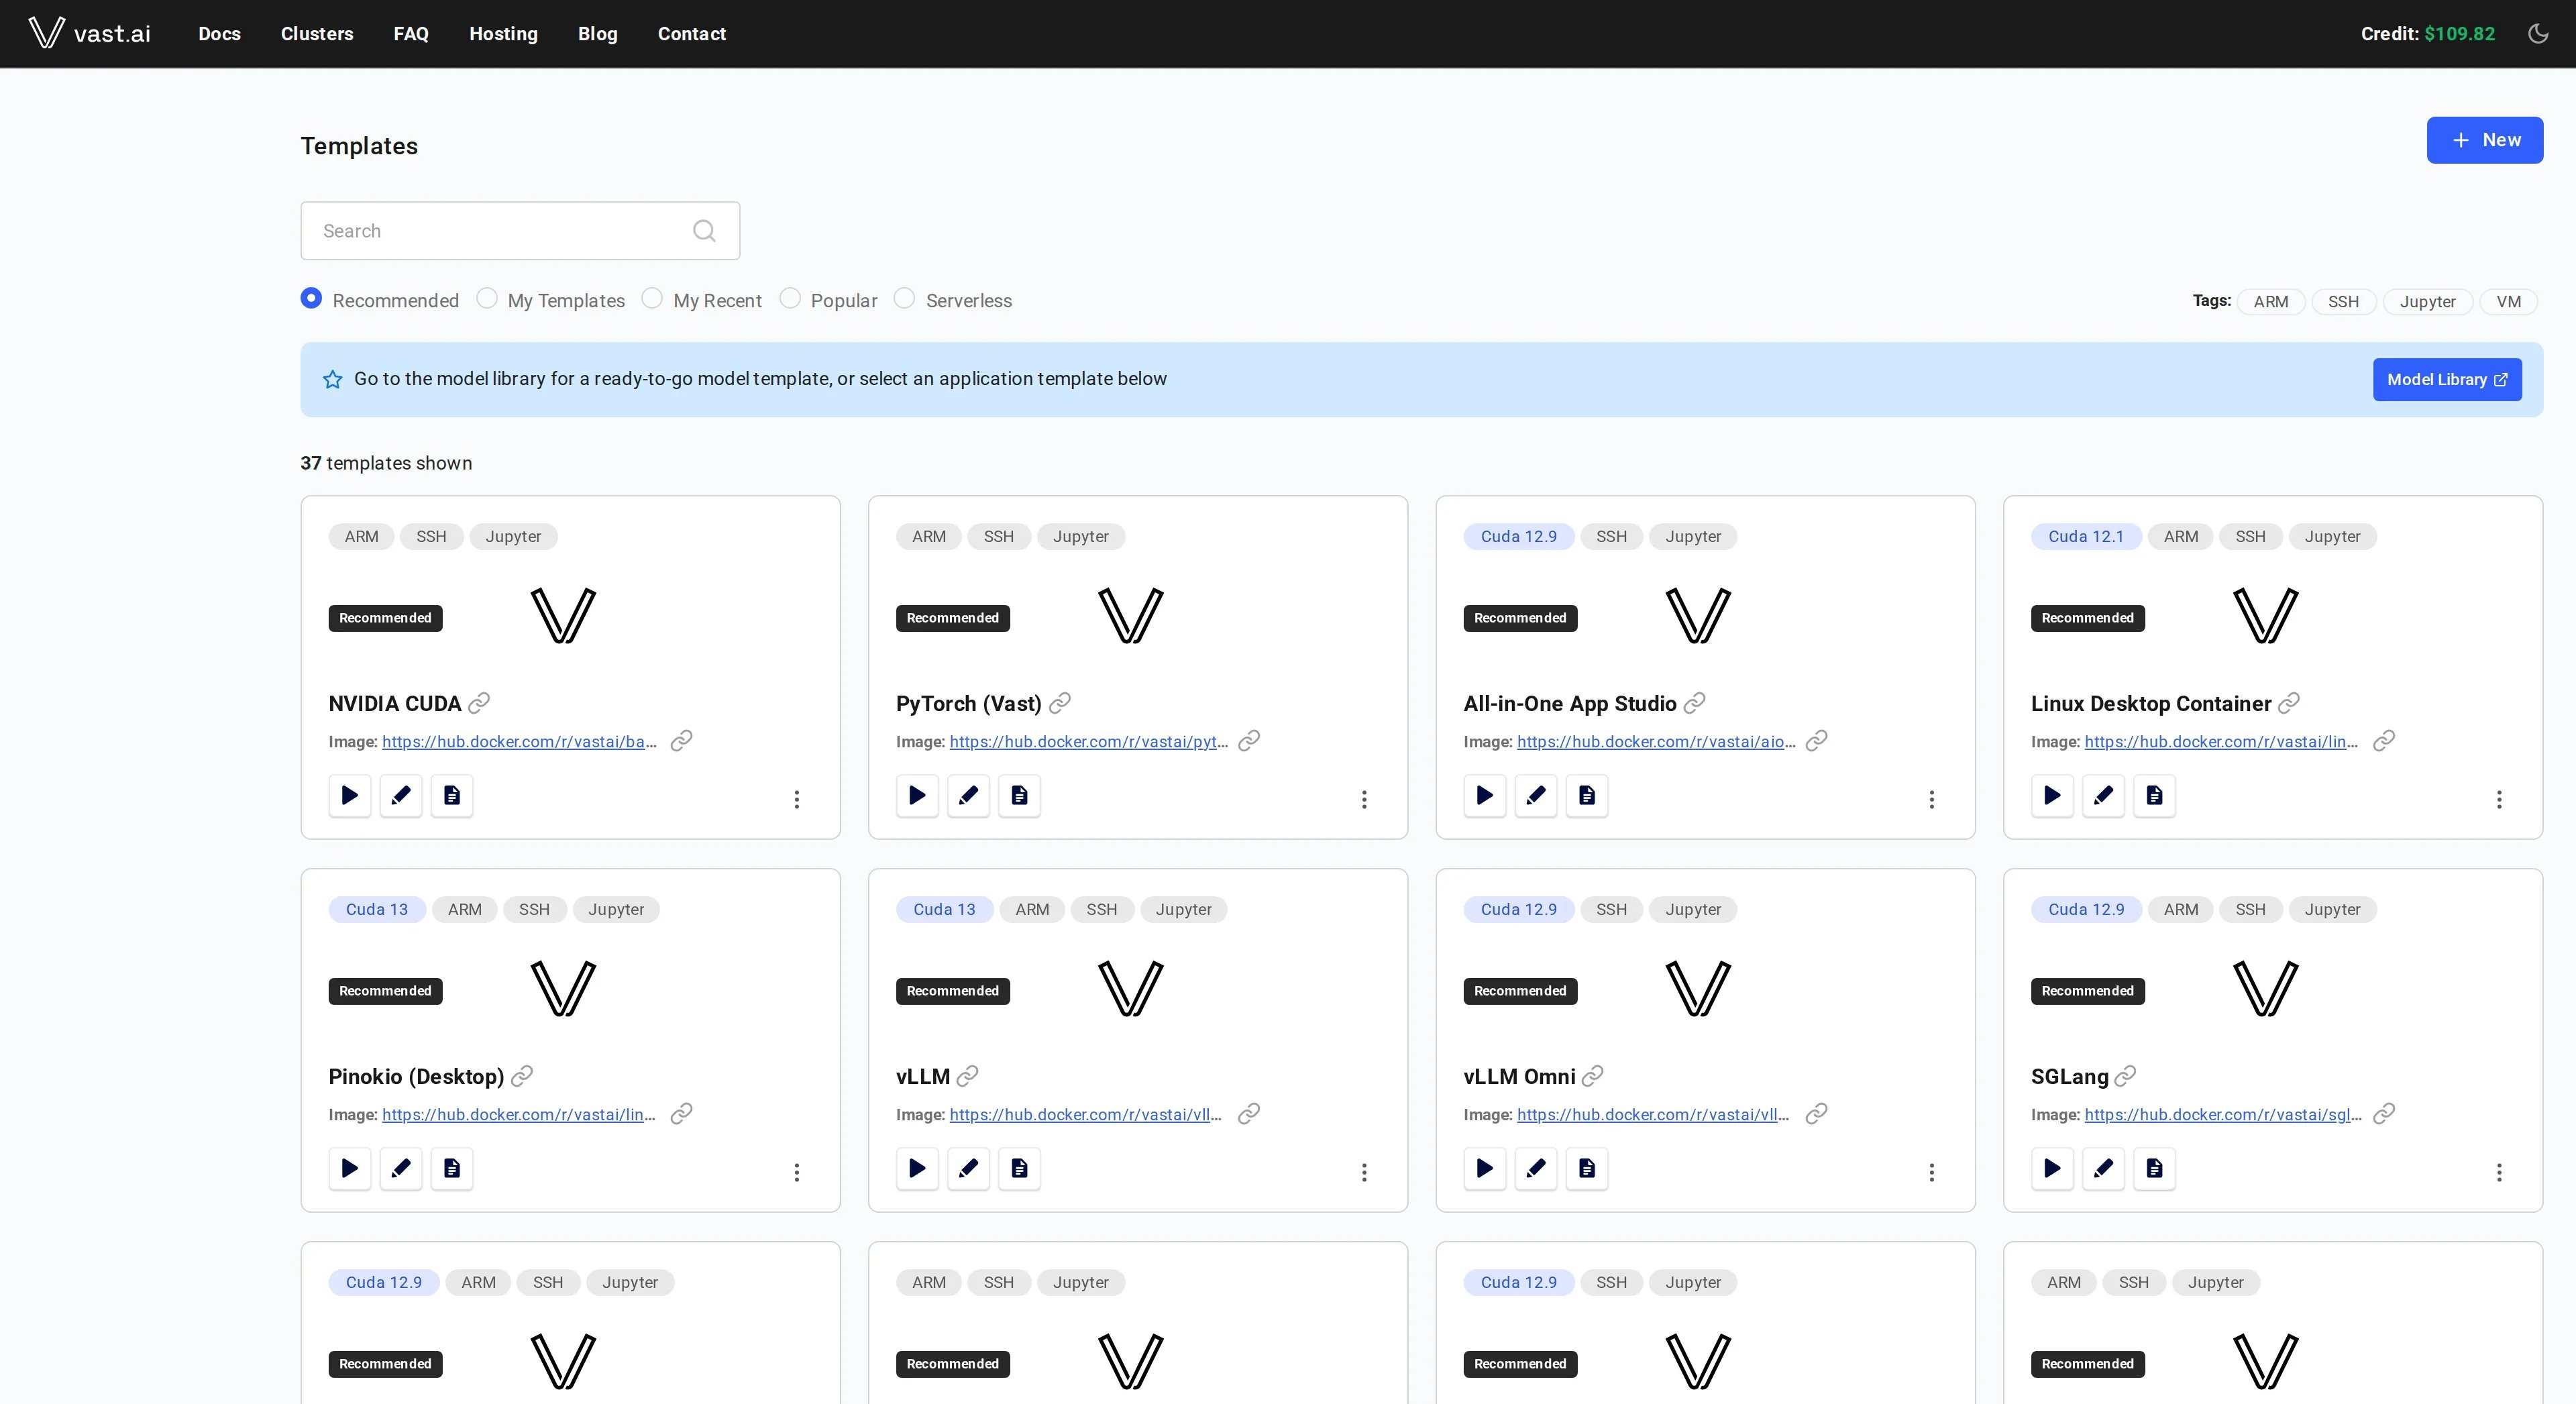
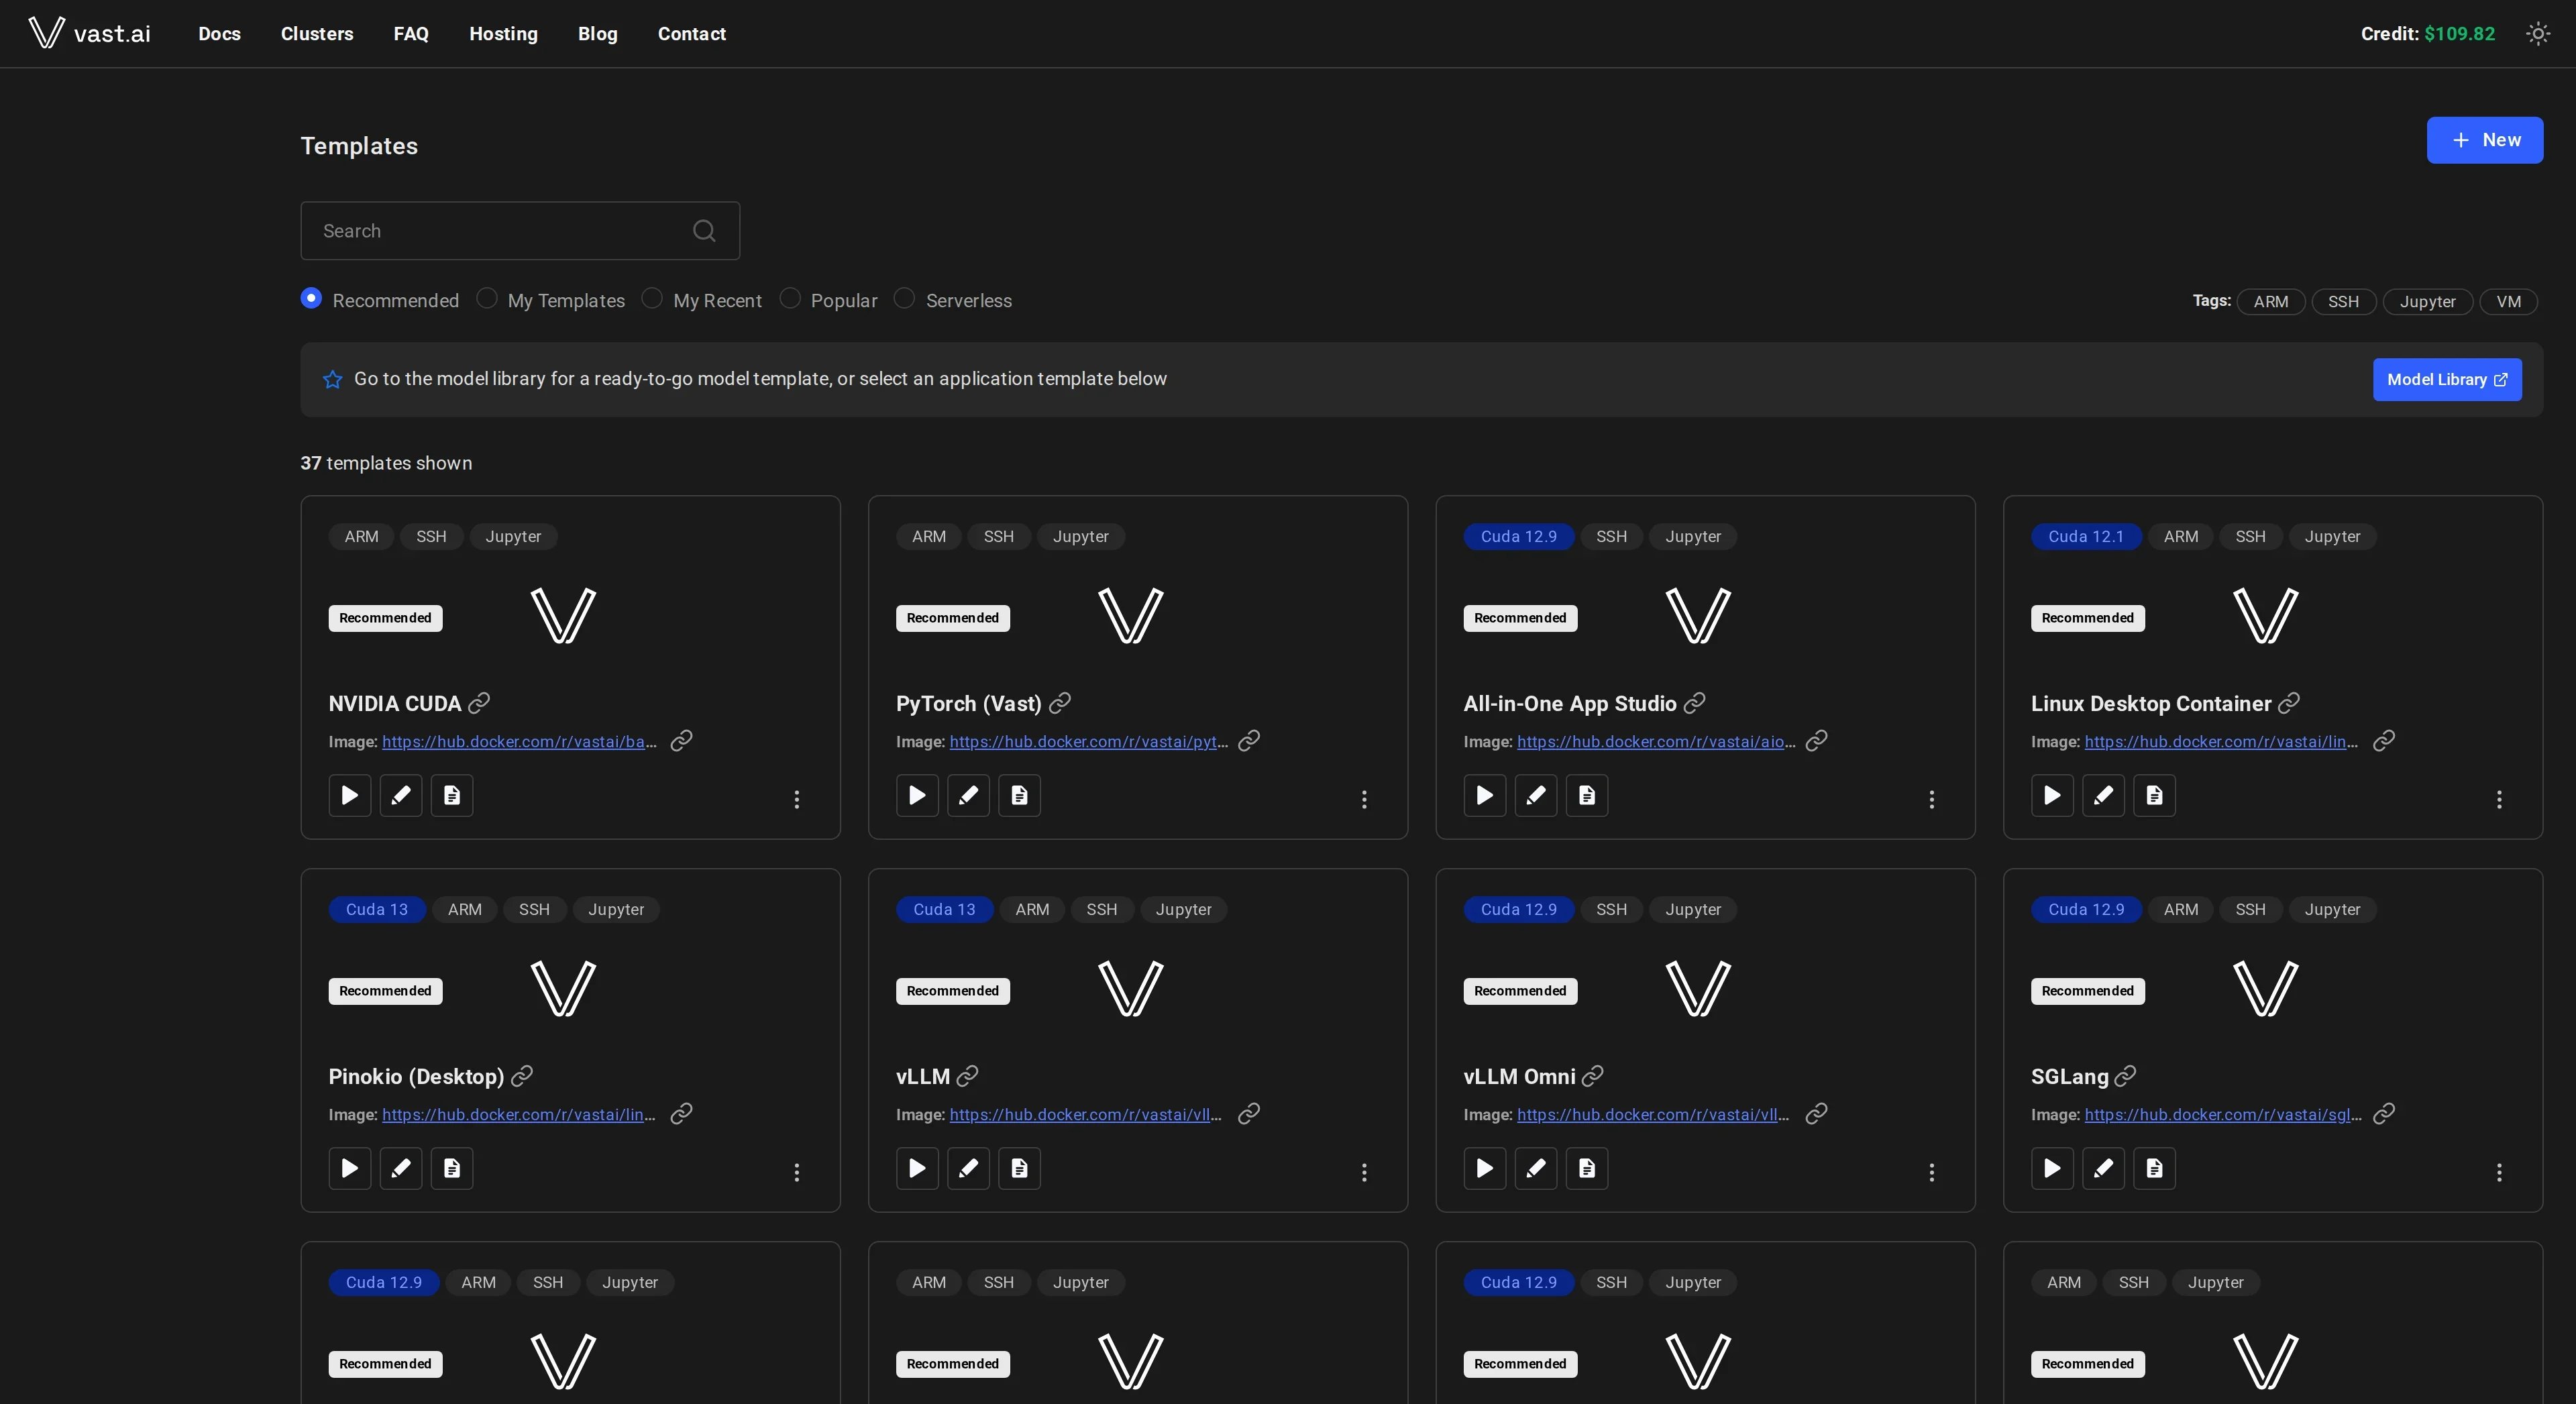 Browse through the templates until you find one that meets your requirements. In this guide we will use NVIDIA CUDA, which is the first on the list. It's a great starter template as it just includes the CUDA development environment, plus a few extras to improve the user experience.
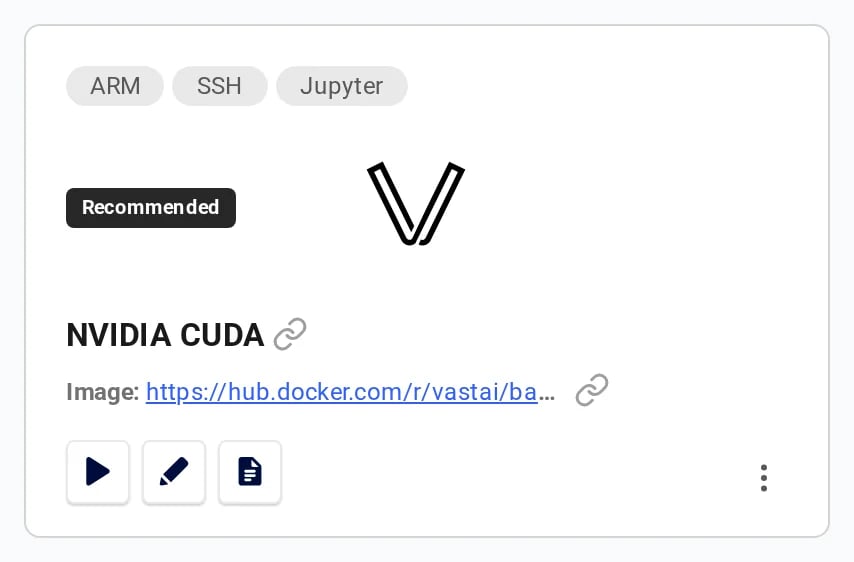
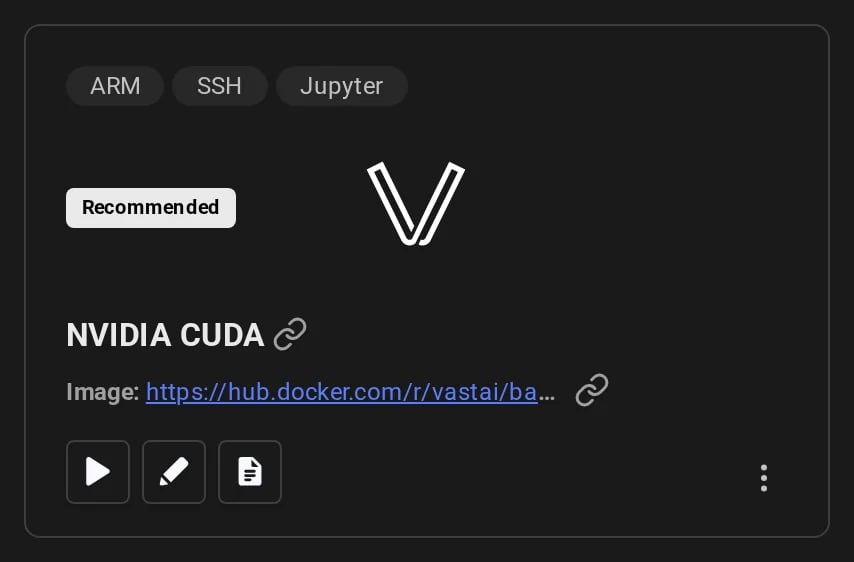 Now, click the 'play' button. This will load the template and take you to the available offers.
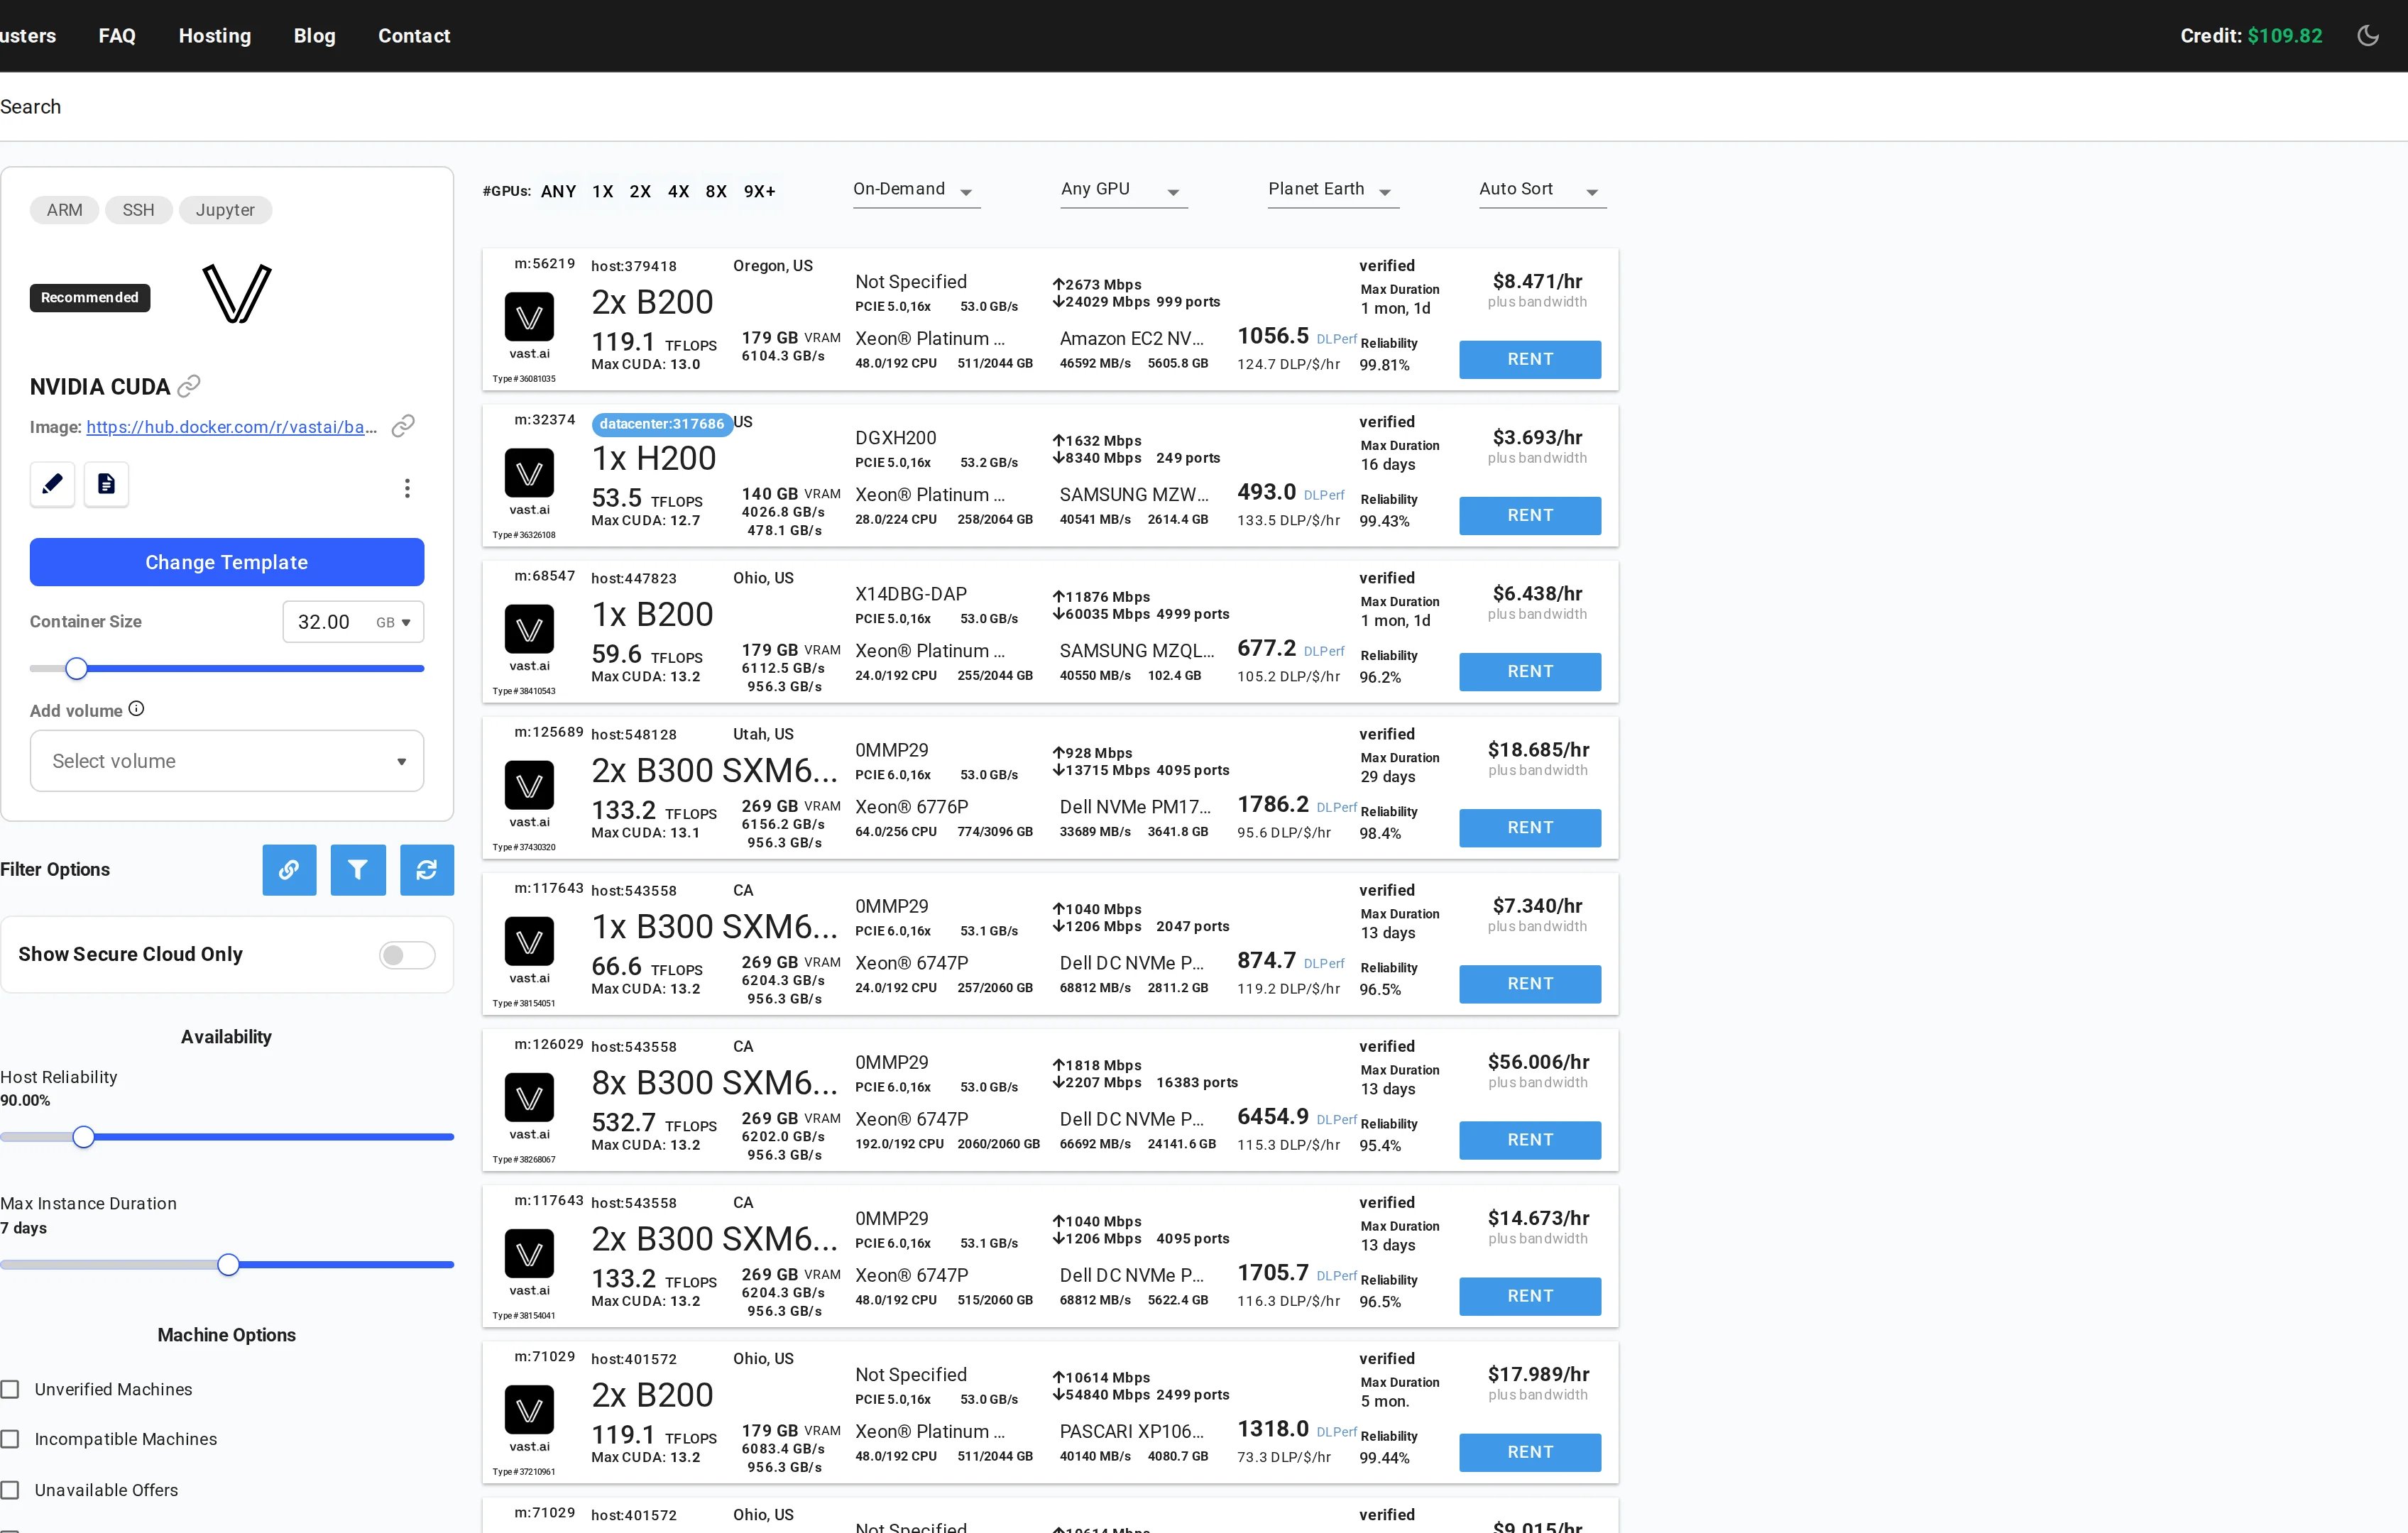
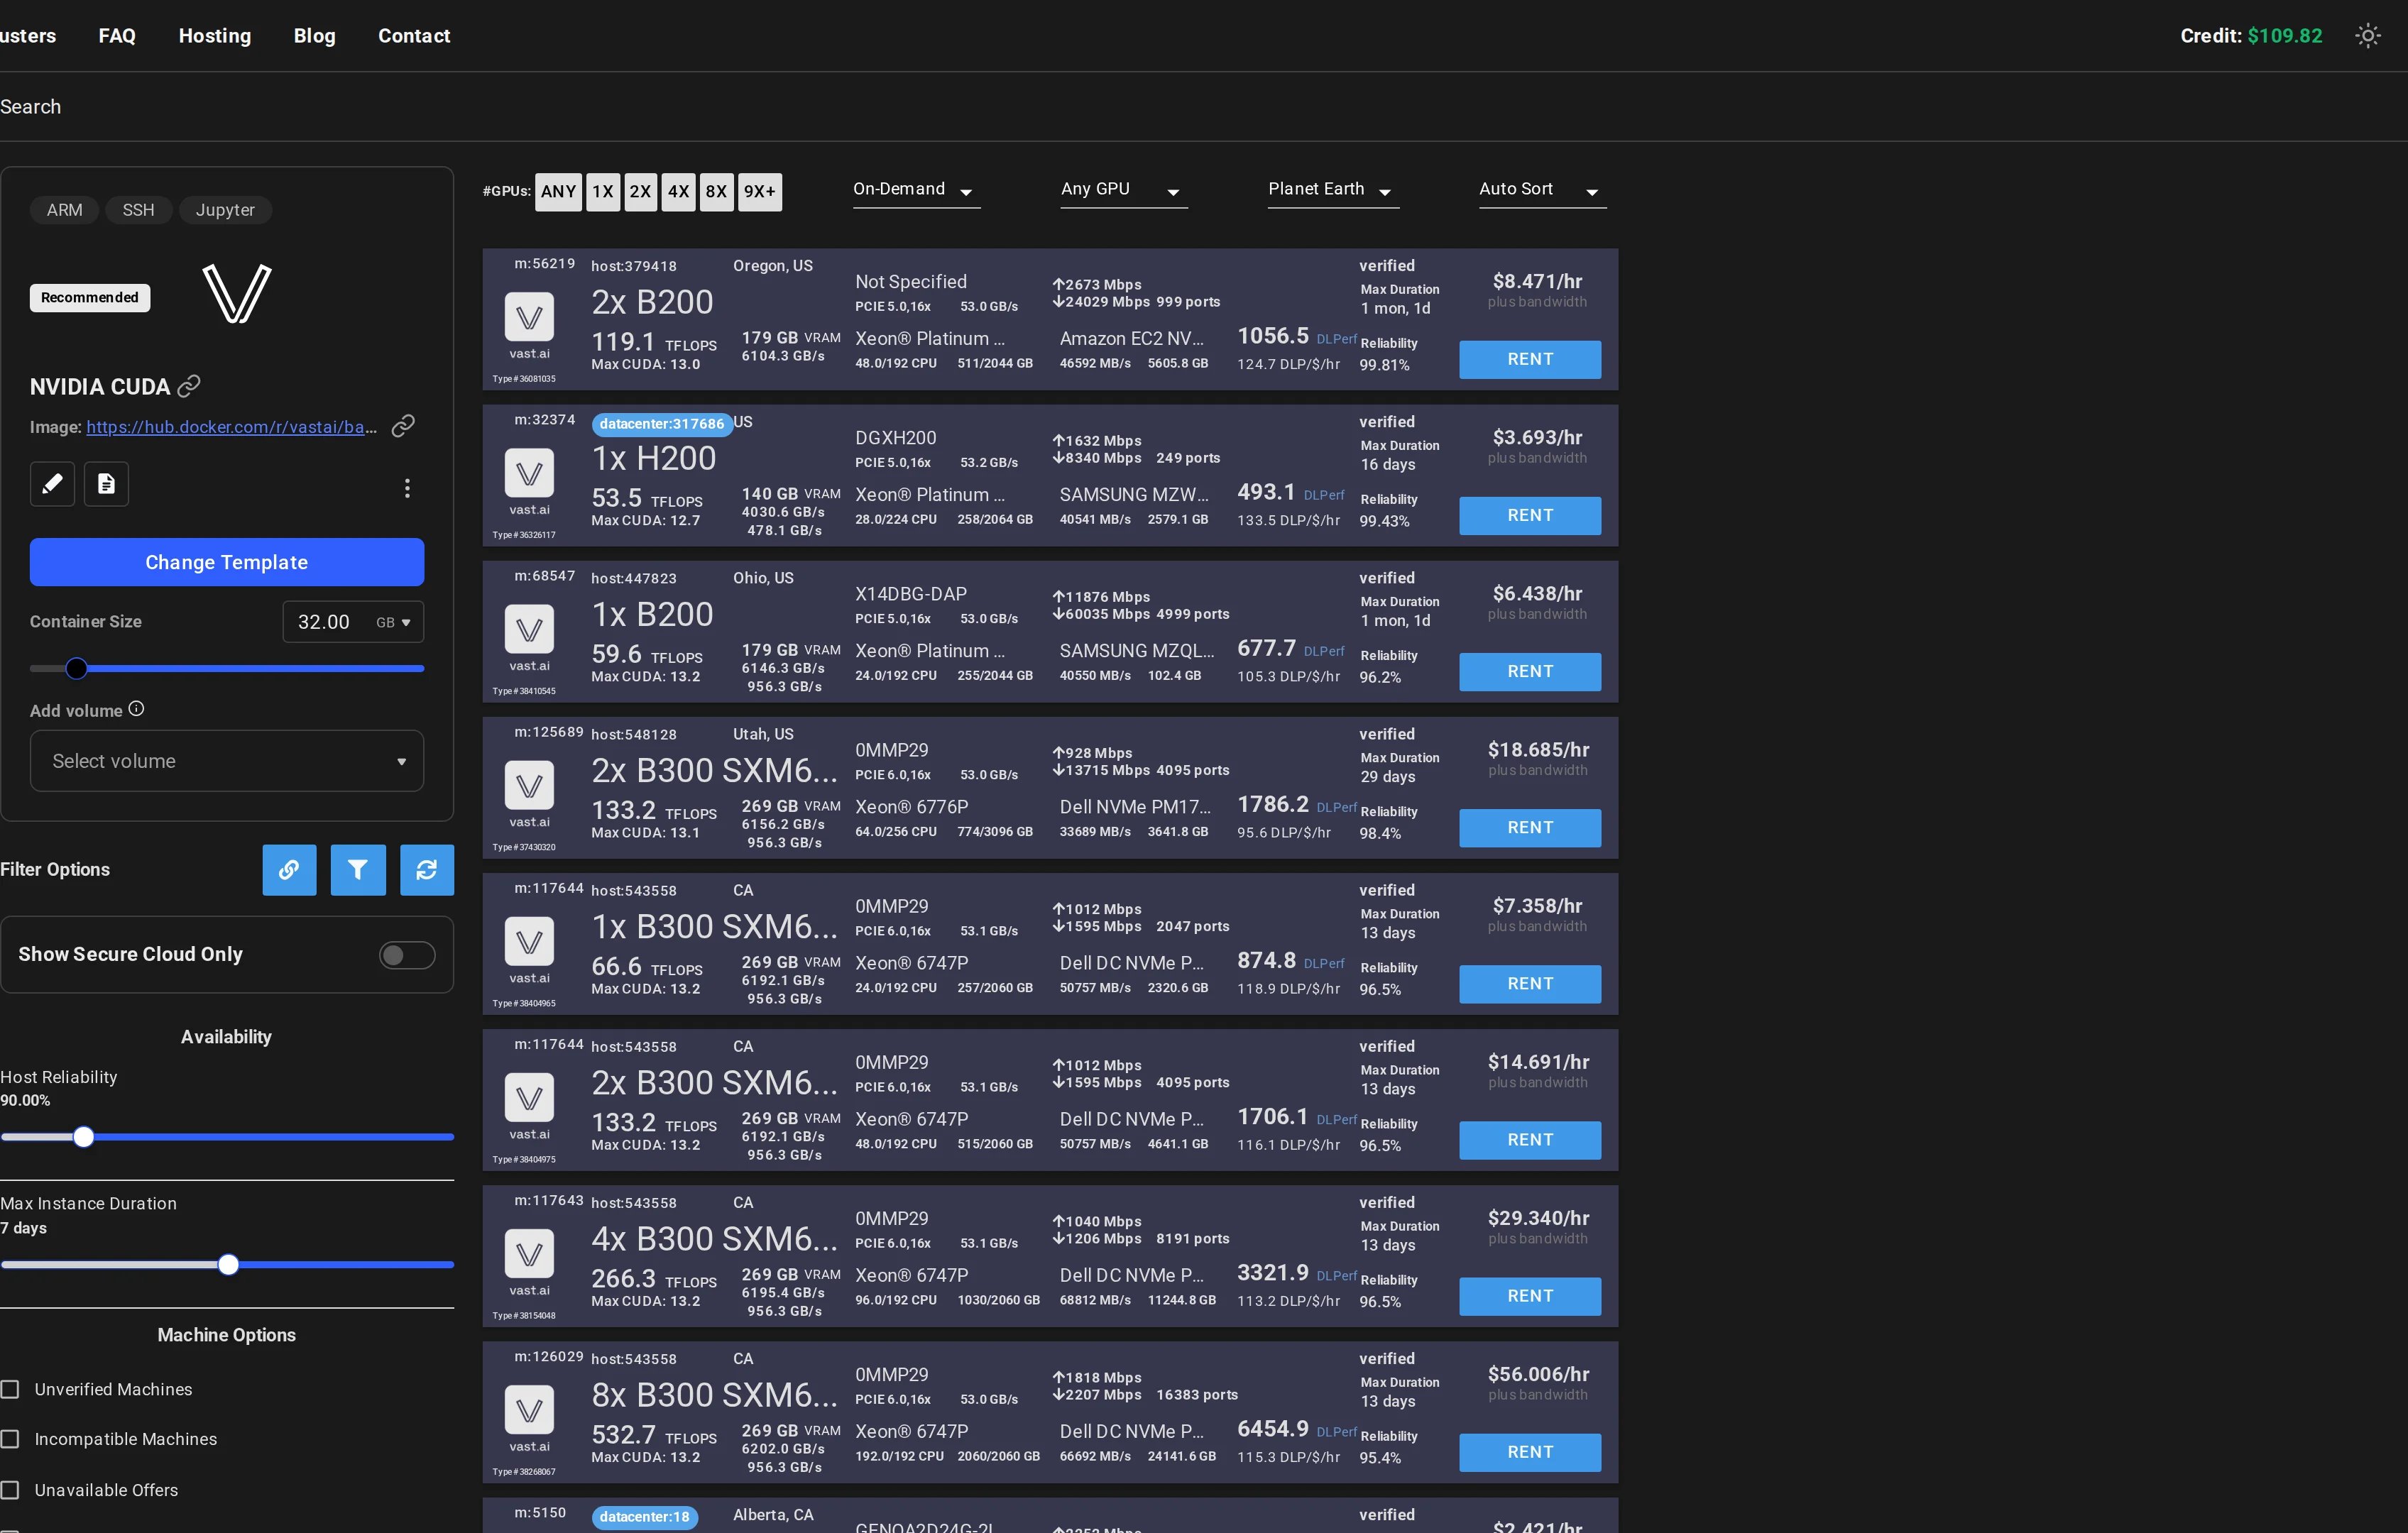 There are filters available at the top of the page to help you target a particular GPU. You will also find many additional filters on the left of the page for more fine-grained control over the instances you find.
When you have found a suitable offer, simply click the 'RENT' button to create your new instance.
You can now visit [cloud.vast.ai/instances](https://cloud.vast.ai/instances/) where you will find your running instance. It may take a few minutes to be ready as everything is being set up.
There are filters available at the top of the page to help you target a particular GPU. You will also find many additional filters on the left of the page for more fine-grained control over the instances you find.
When you have found a suitable offer, simply click the 'RENT' button to create your new instance.
You can now visit [cloud.vast.ai/instances](https://cloud.vast.ai/instances/) where you will find your running instance. It may take a few minutes to be ready as everything is being set up.
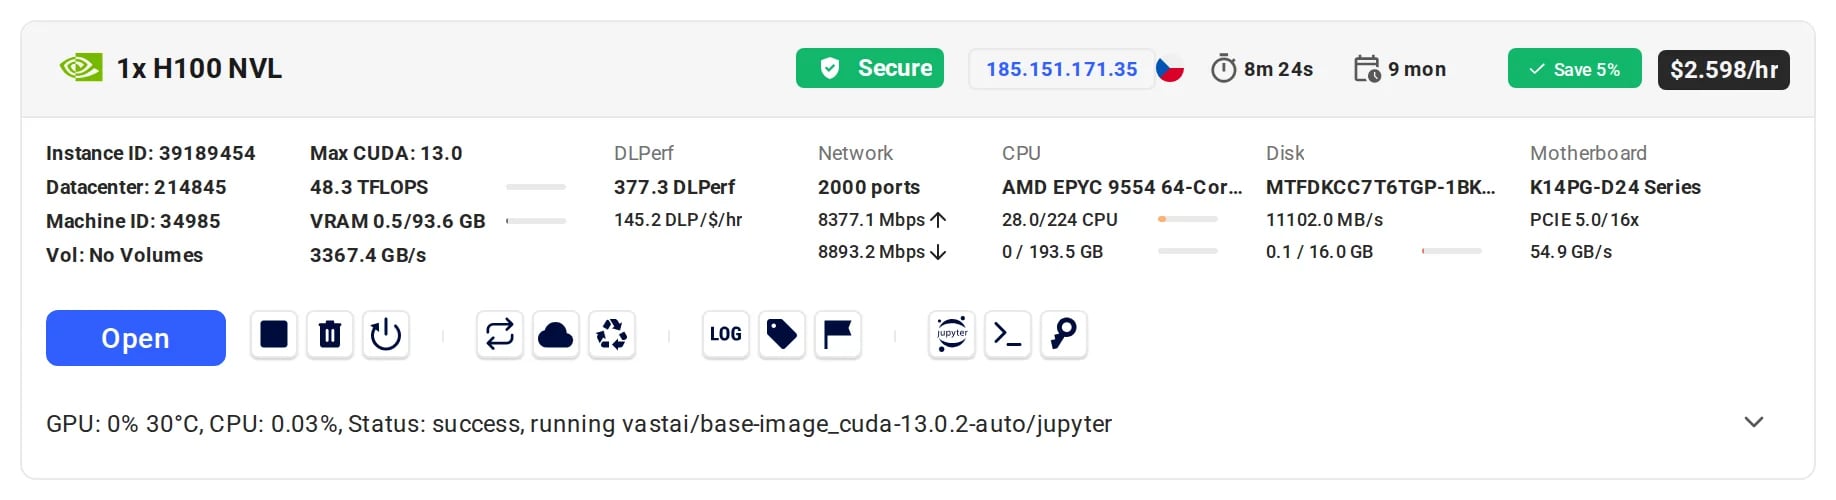
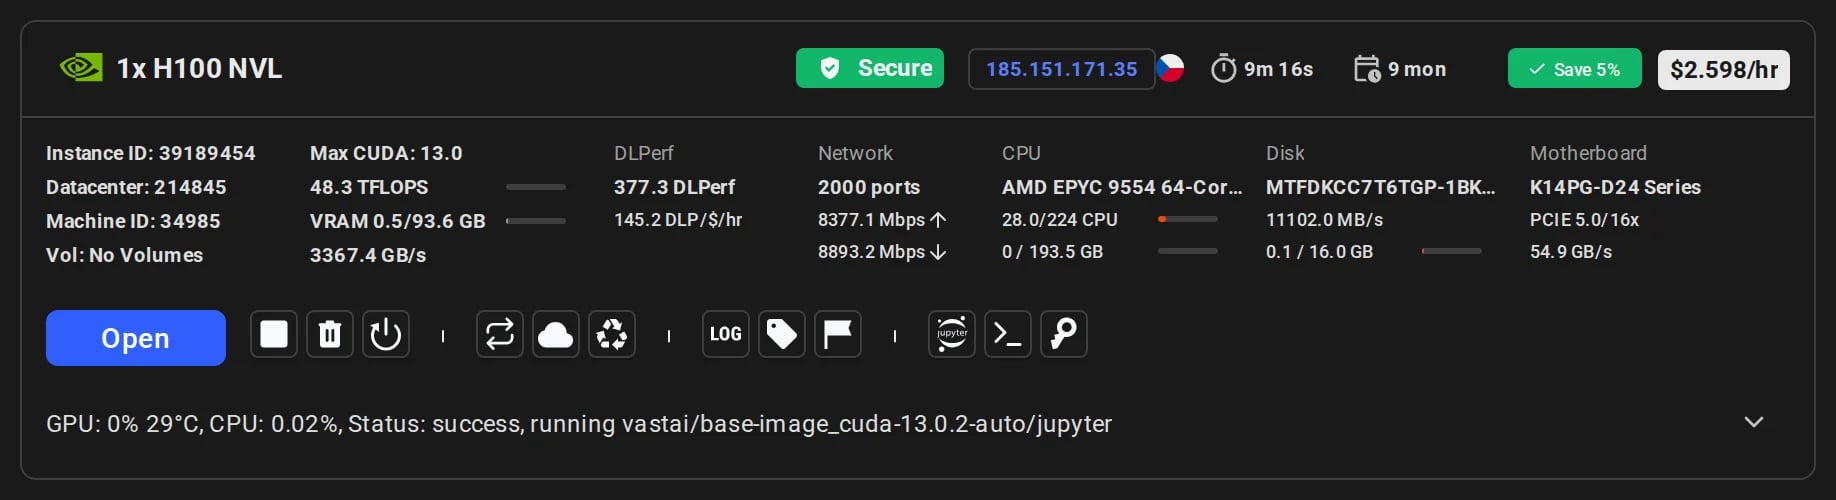 When it is ready you will see the blue open button. This indicates that the instance is ready to connect.
The action of the open button depends on the template you have chosen - In this example you will be transferred to the [Instance Portal](/guides/instances/instance-portal). To learn how to configure Instance Portal links, see our [Advanced Setup](/guides/templates/advanced-setup#portal-config) guide.
## Next Steps
Now that you've run your first template:
* **Understand templates better** - See [Introduction](/guides/templates/introduction) to learn about templates and Vast's template ecosystem
* **Create your own template** - Follow our [Creating Templates](/guides/templates/creating-templates) tutorial
* **Explore advanced features** - Check out [Advanced Setup](/guides/templates/advanced-setup) for provisioning scripts and custom images
When it is ready you will see the blue open button. This indicates that the instance is ready to connect.
The action of the open button depends on the template you have chosen - In this example you will be transferred to the [Instance Portal](/guides/instances/instance-portal). To learn how to configure Instance Portal links, see our [Advanced Setup](/guides/templates/advanced-setup#portal-config) guide.
## Next Steps
Now that you've run your first template:
* **Understand templates better** - See [Introduction](/guides/templates/introduction) to learn about templates and Vast's template ecosystem
* **Create your own template** - Follow our [Creating Templates](/guides/templates/creating-templates) tutorial
* **Explore advanced features** - Check out [Advanced Setup](/guides/templates/advanced-setup) for provisioning scripts and custom images